Master's Thesis Blog
- Oscar Friberg -
Bringing it all Together
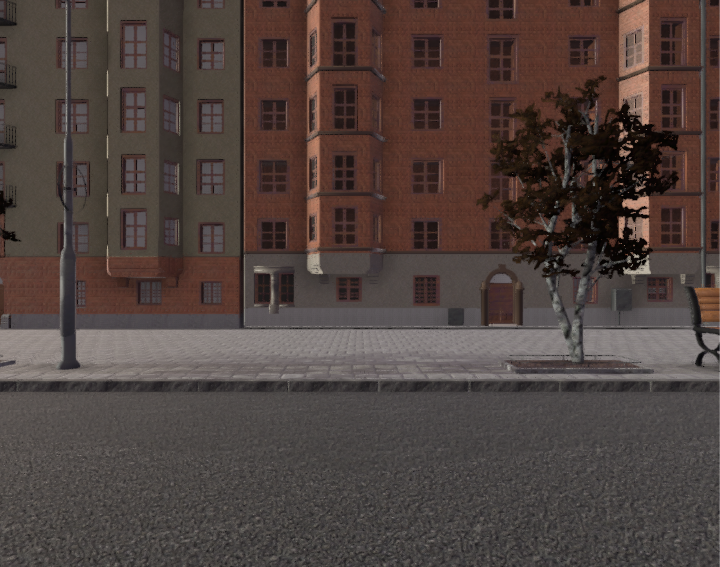
The demo is finally basically done. Some small adjustments (such as ramping up the dirt/graffiti some more) are needed, but after that it should be ready to use for testing. Probably the trees shouldn't be placed in such a way that it hits you in your delicate virtual face - and virtual feelings - as well. The placement of the graffiti textures needs to be adjusted also, which is kind of a quick thing to fix by adjusting the UVs in Blender and re-importing the buildings. All in all, these adjustments probably won't take more than half an hour.
The player camera moves in a scripted way, and when the VR-camera is used instead of a regular camera, the player will be able to look around - but not control movements.
Scripted Walkthrough
Adding Dirt Procedurally
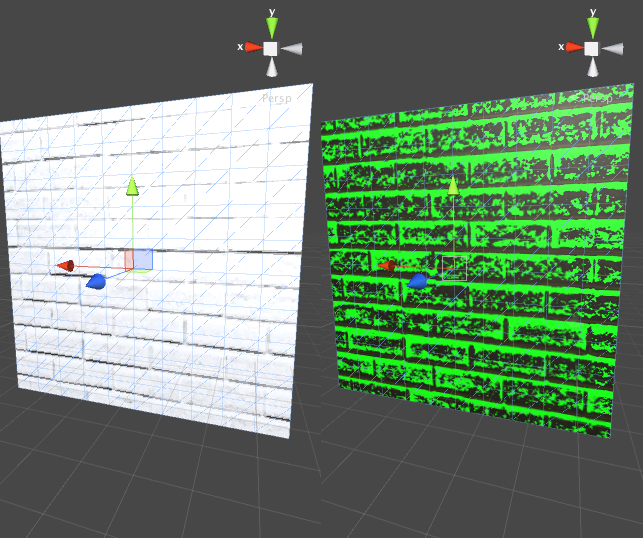
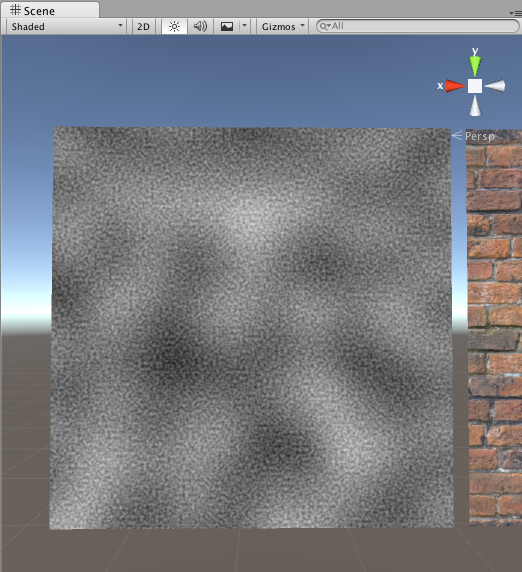
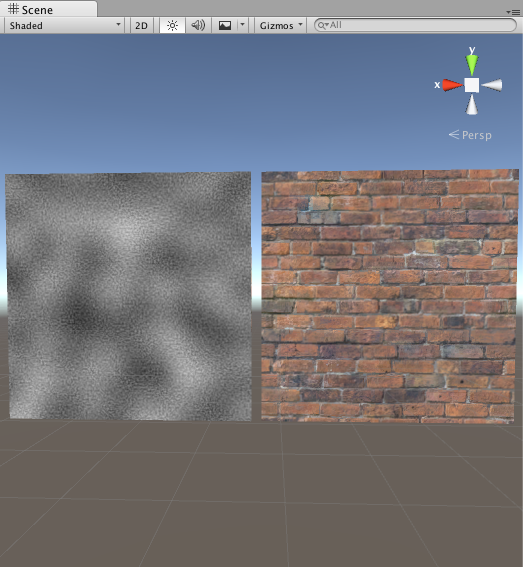
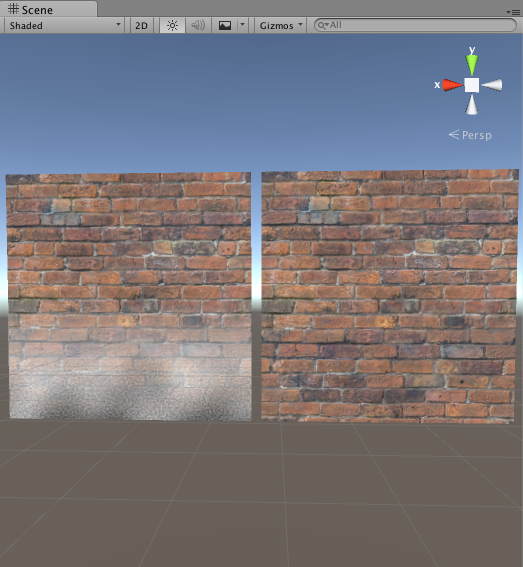
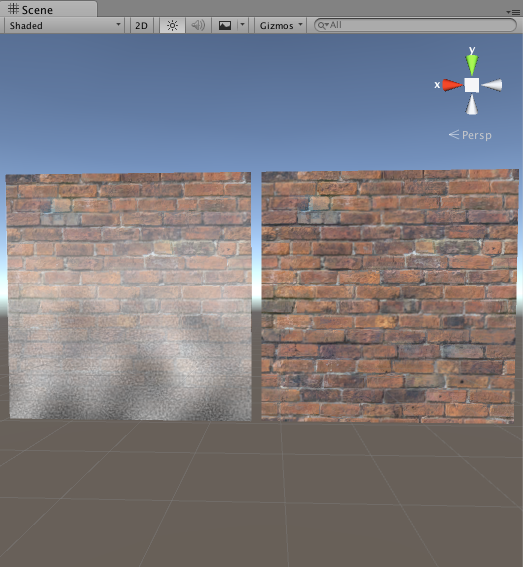
After having wached a Blender-specific tutorial on adding dirt and grunge, where he used an occlusion map to specify where the dirt should be added, I tried to apply this to my project in Unity. Since the occlusion maps where pretty washed out, I made a script that could increase the contrast and make use of thresholding to mark where the dirt should be added.
With now having both the perlin noise script, and the occlusion script done, I combined them to make the adding of dirt more realistic than just adding the perlin noise by itself. The results can be seen below.
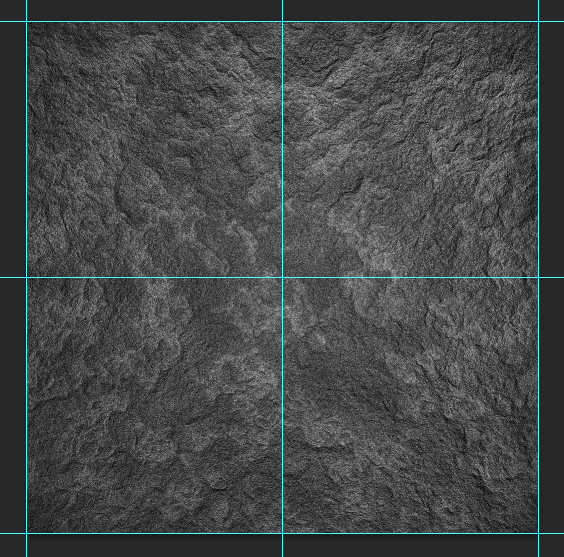
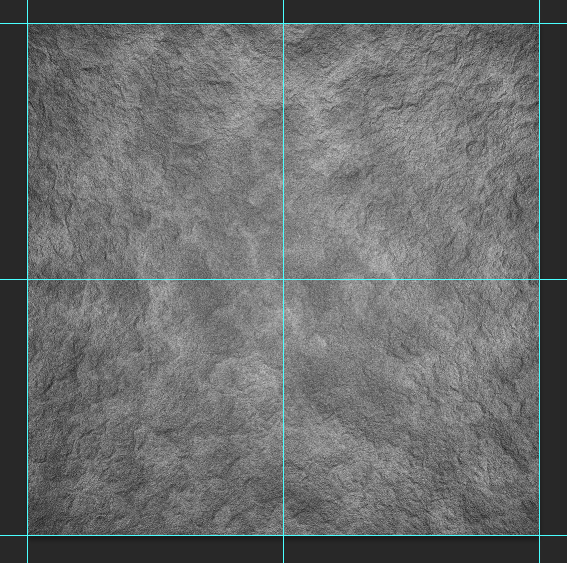
Wood and Rock
For Window Panels and Exterior Decor
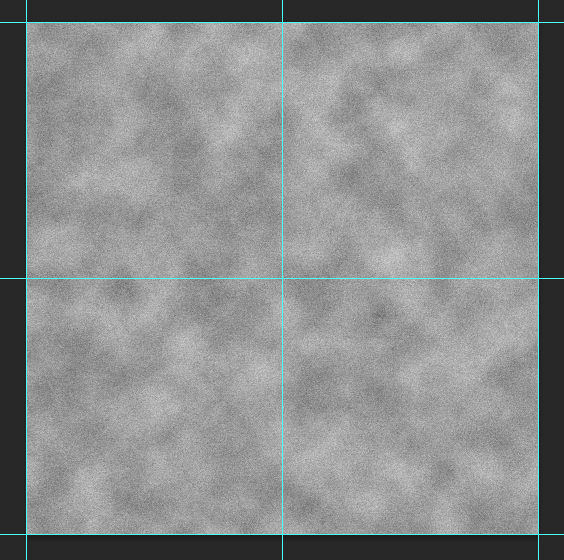
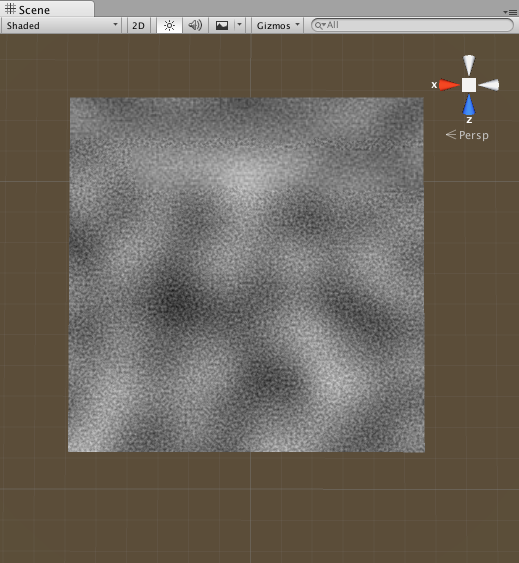
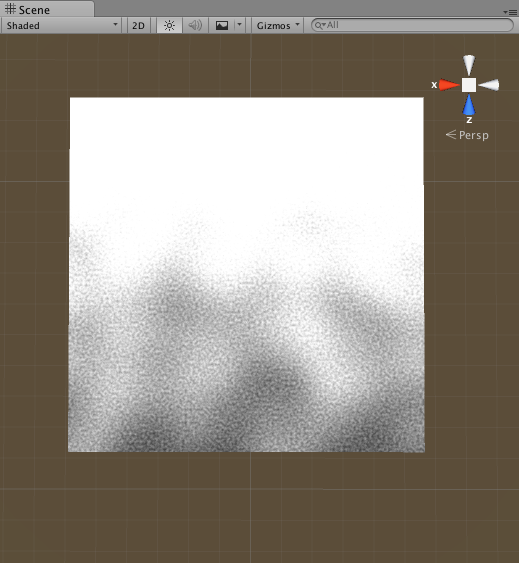
Original occlusion map to the left and with contrast/threshold-script to the right (green used to make it easier for testing).
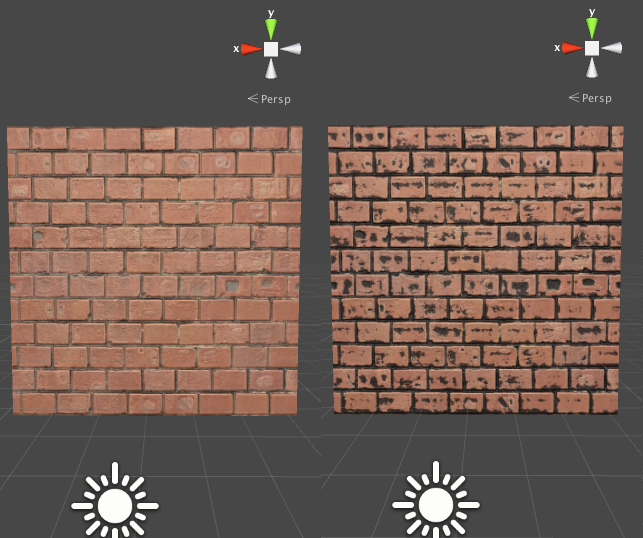
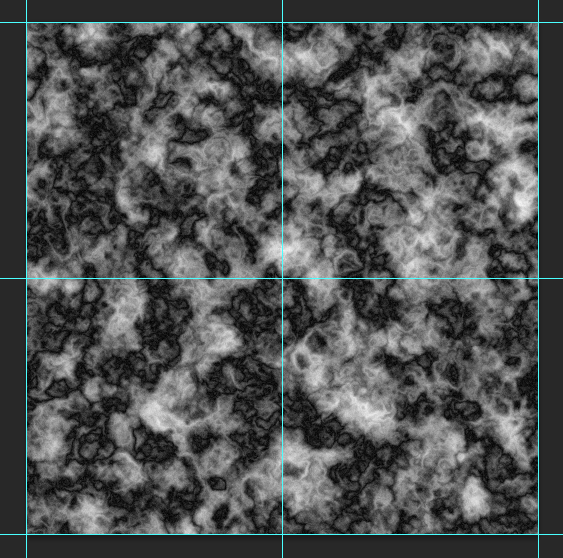
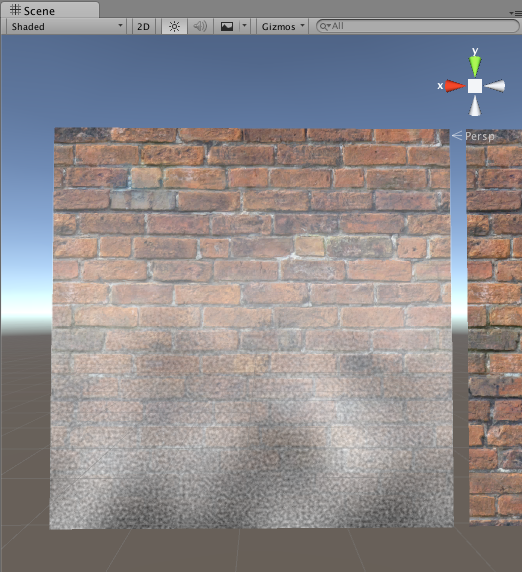
Original diffuse/color texture to the left, and with just the contrasted/thresholded image added to the right.
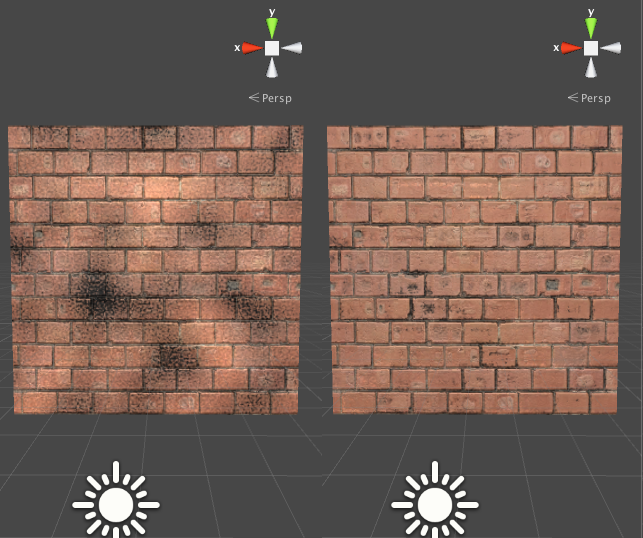
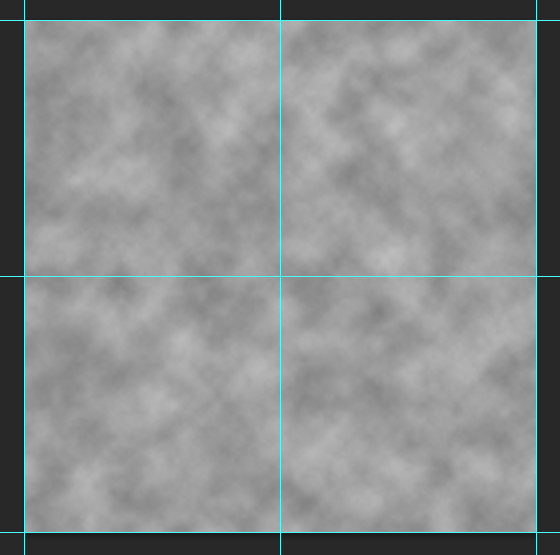
Perlin noise overlayed to the right, and with perlin noise/contrasted occlusion map to the right (rather small amounts of dirt applied in this picture, could be brought up more with changes to the perlin noise map).
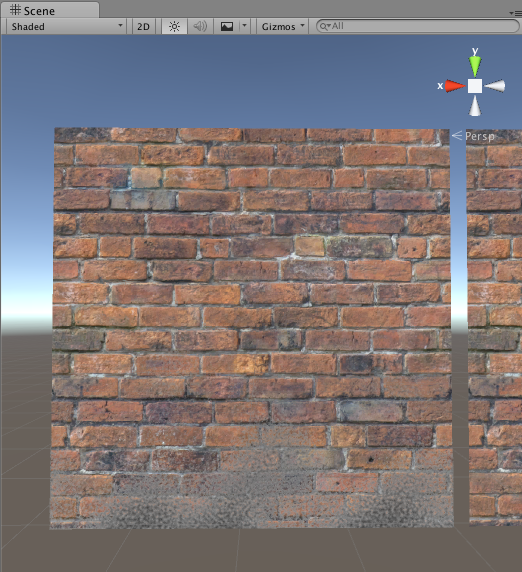
Wall Texture
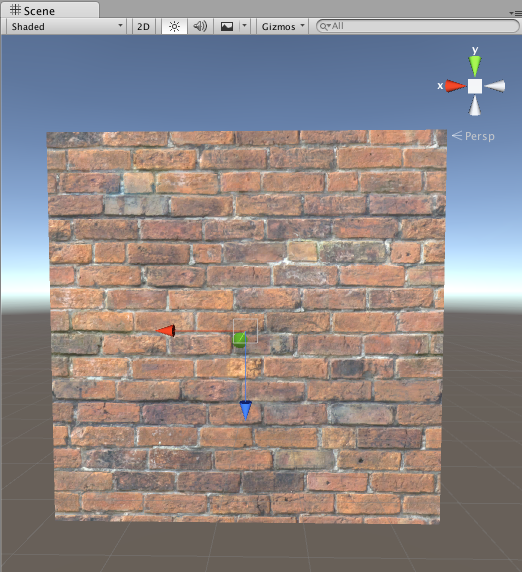
Following a Youtube-tutorial on creating concrete, Photoshop was used to create a tileable wall texture , using noise, cloud and lighting effects.
Creating Wall Texture
Color Sampled from Google Earth Image
The results are hardly perfect. But it's difficult to say how will look when applied to the Blender model in Unity. If it doesn't look realistic a photo from CGTextures.com will probably be used.
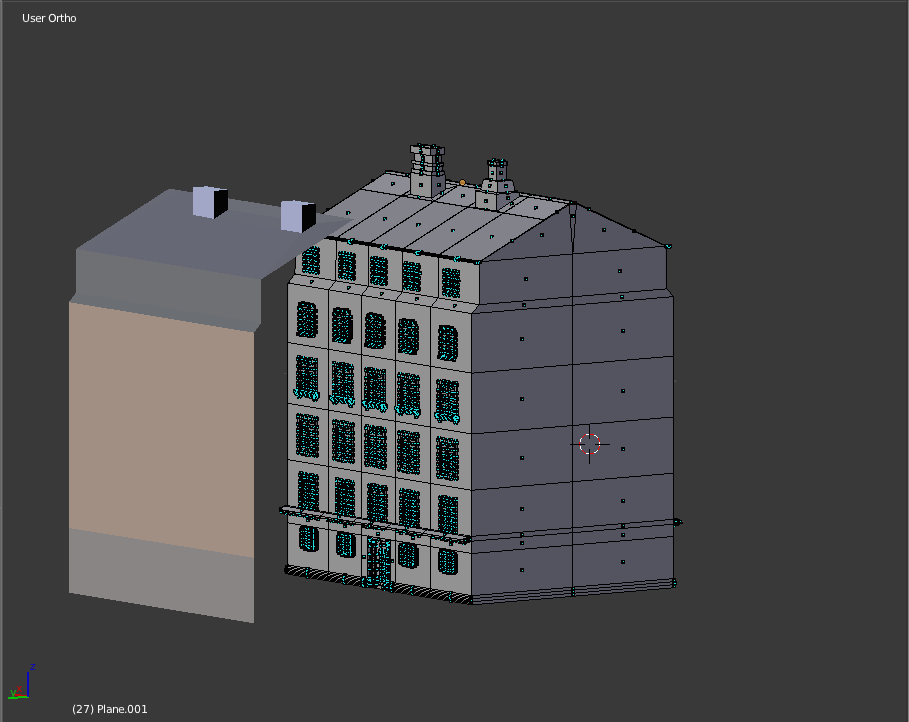
Texturing
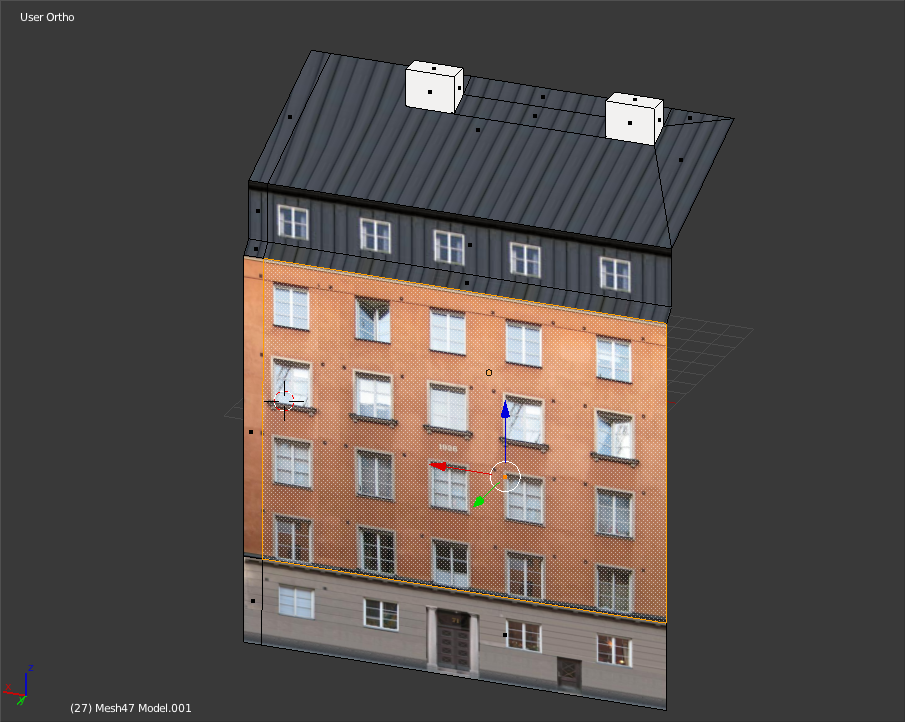
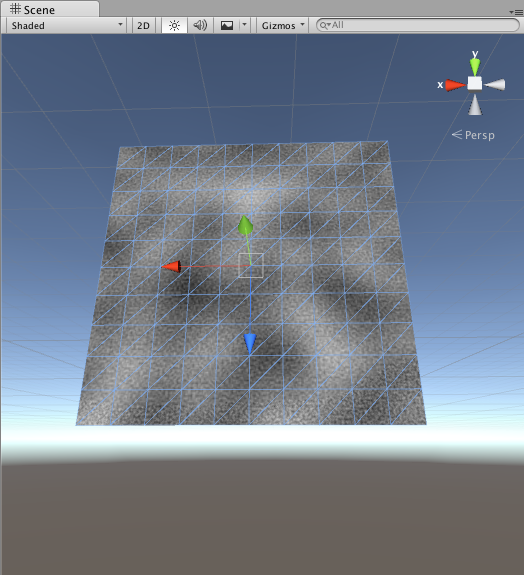
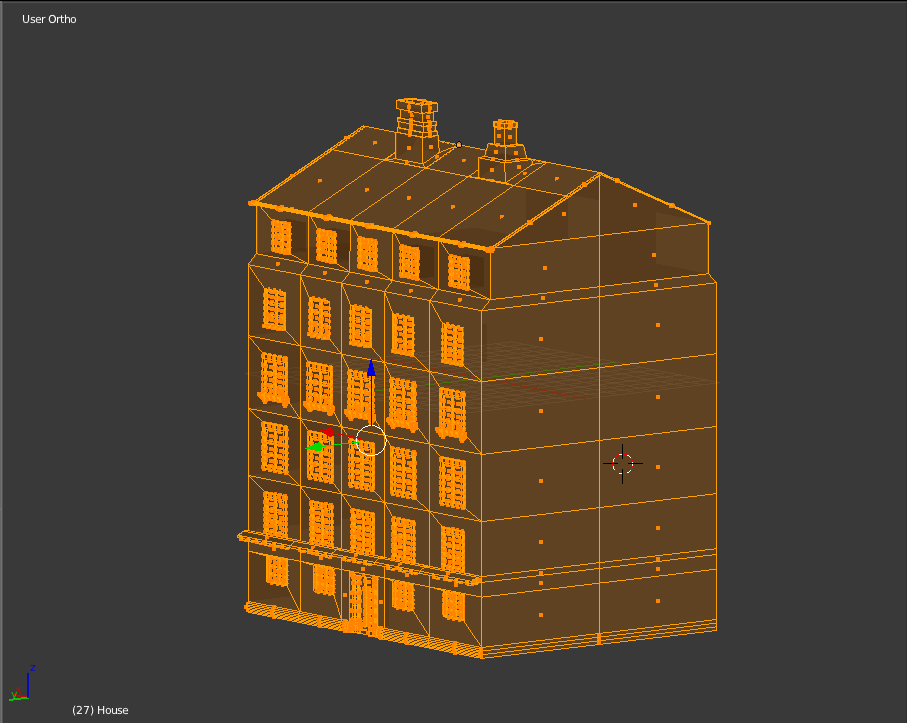
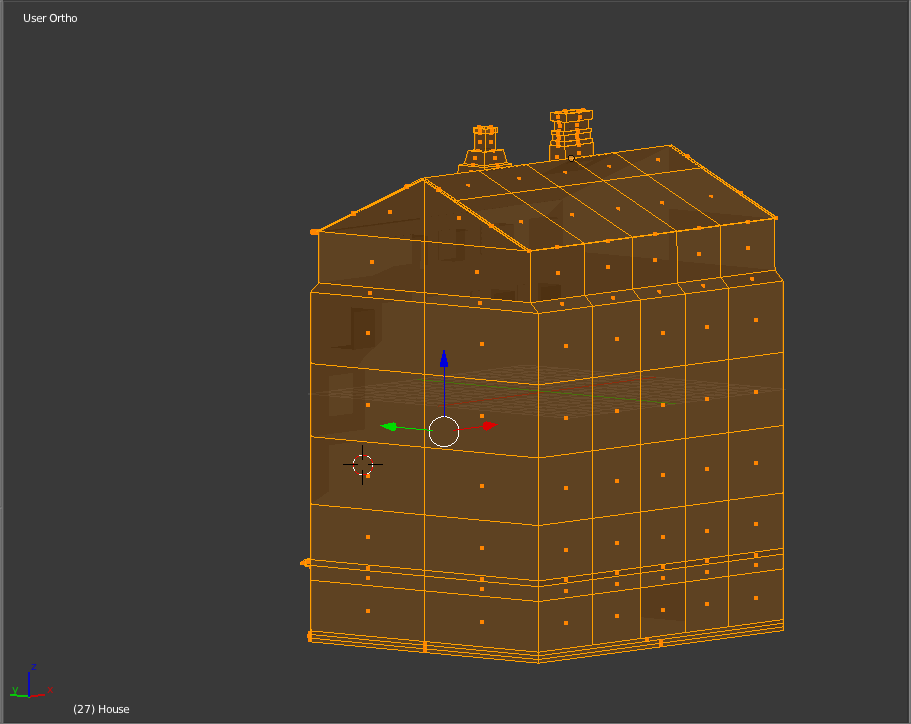
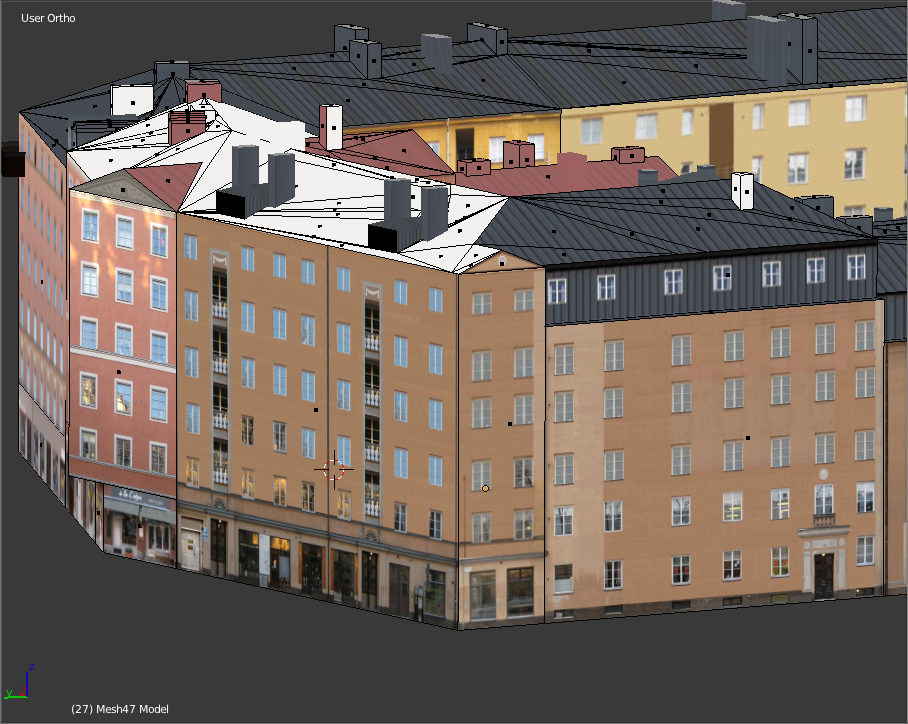
After having the Stockholm building modellig done in Blender (pre-texturing) with the right scaling, rotations, positions and origins properly set so that they can be scaled correctly in Unity depending on user input, the model was brought into Unity. The first test can be seen below.
Texturing
Testing with Dirt
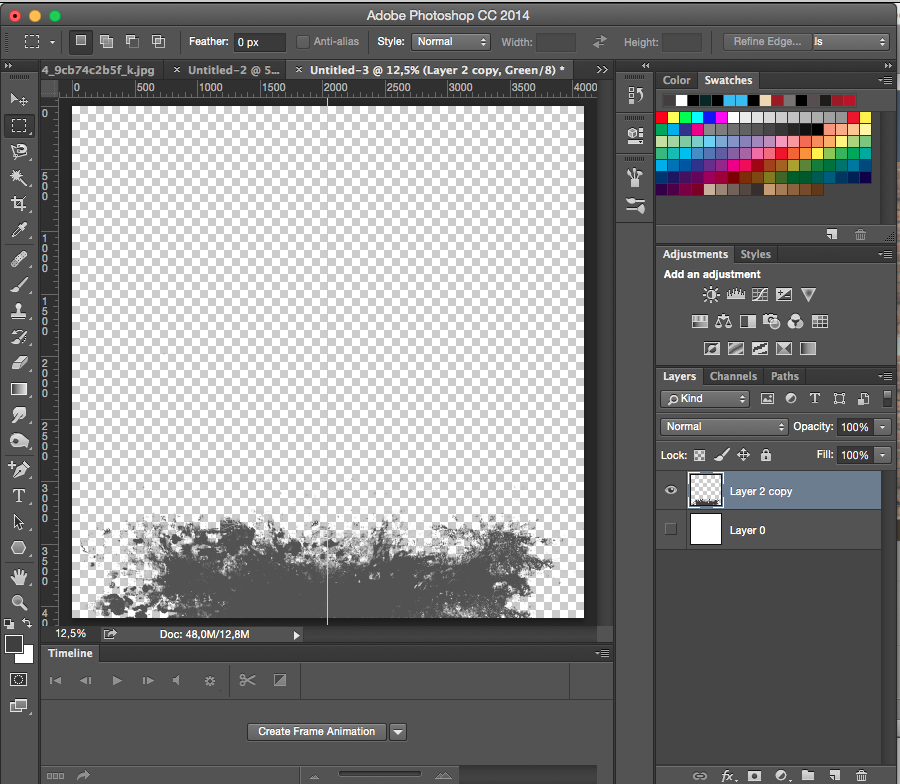
Simple dirt texture made in Photoshop to the left (sponge brushes).
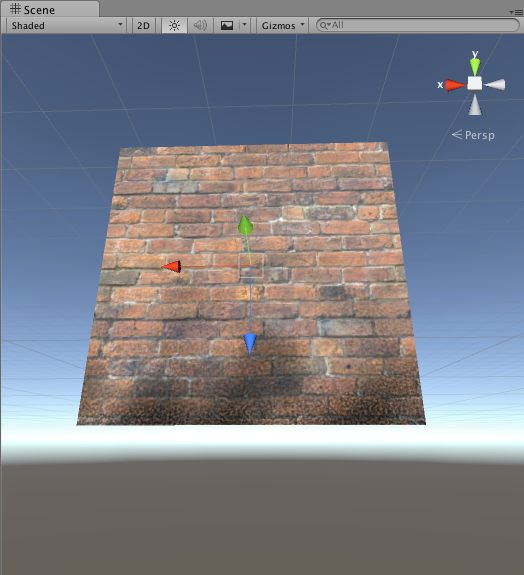
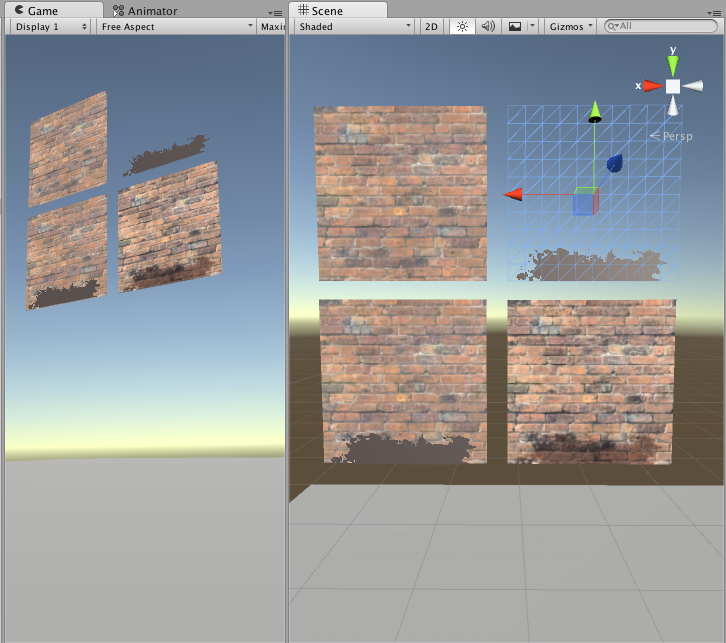
Dirt and brick texture brought into Unity.
Top left: simple brick texture
Top right: dirt texture from Photoshop
Bottom left: dirt added as a texture in front of the brick texture
Bottom right: dirt and brick texture blended, including normal map for the bricks
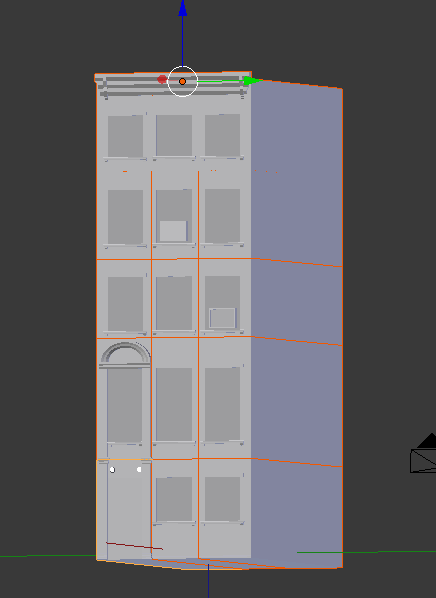
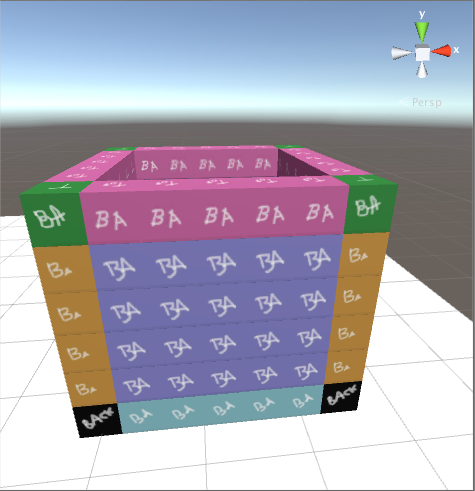
Building Assembly - Unity
After having the Stockholm building modellig done in Blender (pre-texturing) with the right scaling, rotations, positions and origins properly set so that they can be scaled correctly in Unity depending on user input, the model was brought into Unity. The first test can be seen below.
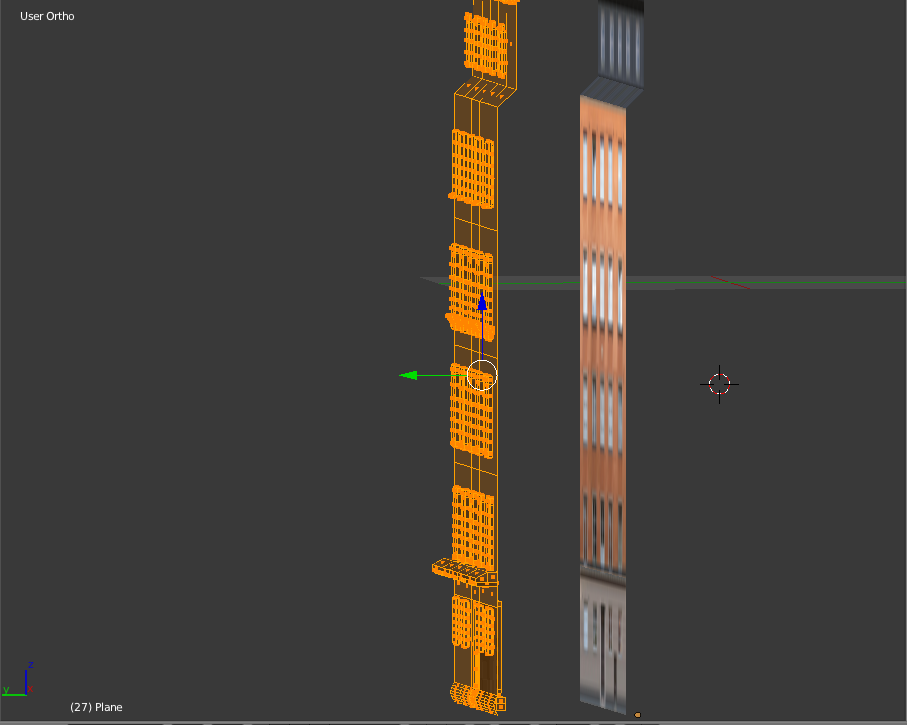
Stockholm Building
Blender Modelled

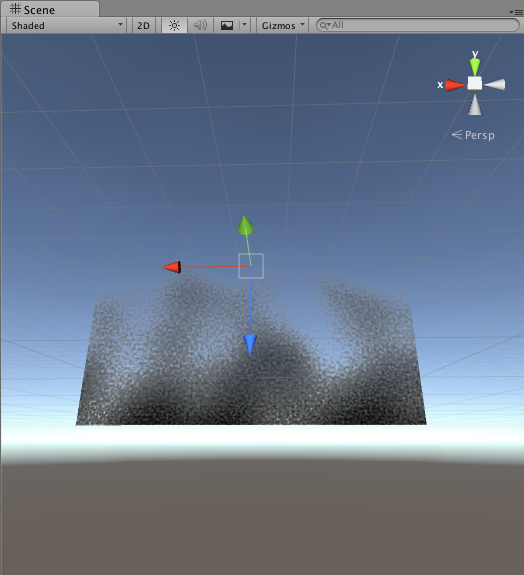
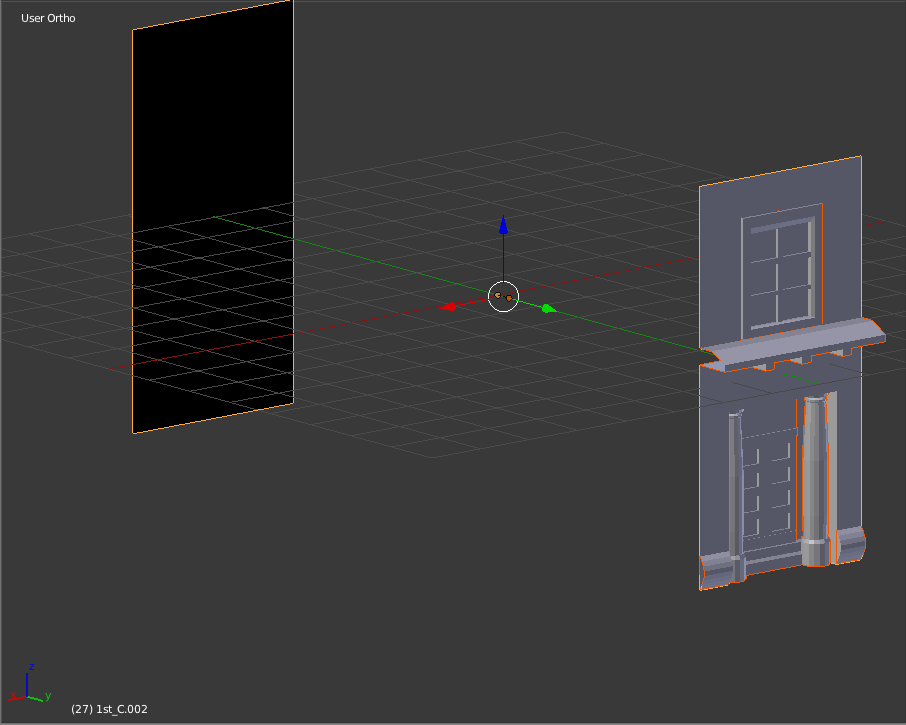
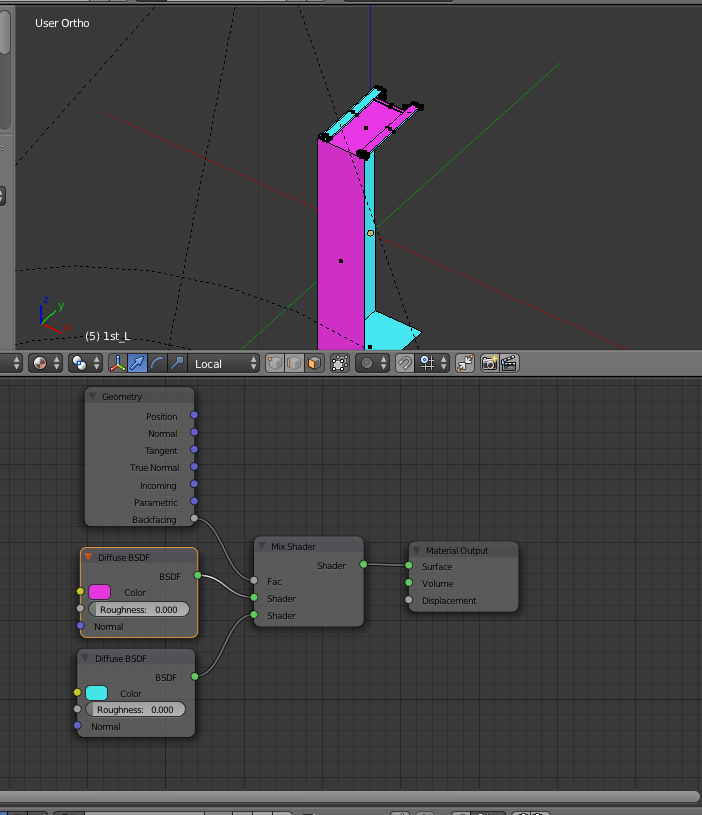
After having made the GIF I realized that the origins for the top part was calculated taking the roof panels into account which is why the right most part is incorrectly scaled. This almost looks like shadows, but is actually a hole in the geometry. This is due to the roof panels are "hanging out" a bit from the building facade. The roof panels are now separated and parented - just like windows, chimneys, doors and pillars - and scales correctly now.
First Blog-Entry
Lorem ipsum expecto petronum:
Wuba-luba-dub-dub
Chum-chum-schlippety-dahp
Huzzah!
Excelsior
Pop culture reference
Bees knees
Butt soup