Postprocessing: 3D reconstruction
3D model
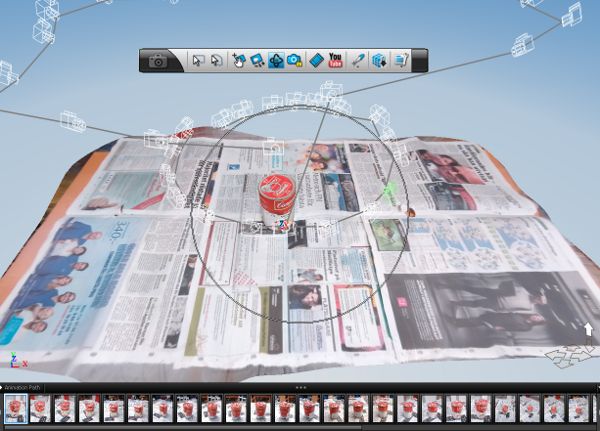
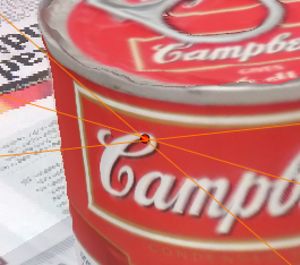
The first step of postprocessing is the actual 3D reconstruction of the object with help of the cloud-based service Autodesk, Inc.. Here, all that needs to be done is selecting the images that are supposed to be processed and to upload them to the cloud. The result is a 3D model containing the object itself and some parts of the environment. The quality of the geometrical structure as well as the texture highly depend on the quality of the photos and the properties of the object. As an example, you can see a Campbell's soup can on the left as the first version of the 3D model.
High quality model
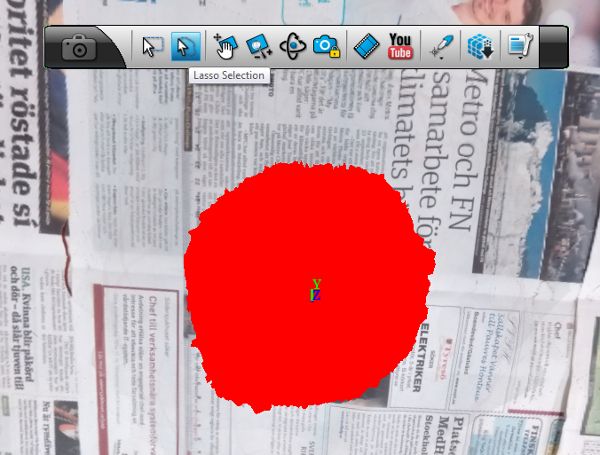
The first model that is returned from the cloud contains not only many parts of the environment but is also not the highest quality mesh that can be produced by Autodesk. Therefore, the whole reconstruction has to be repeated but only on a subarea of the original model, namely the part containing the object of interest. For this, select the area of the model with the Lasso selection up in the menu and by indicating manually which parts of the model you want to preserve. Then select the "Generate Mesh" button in the menu and tick the maximum quality option.

Scale
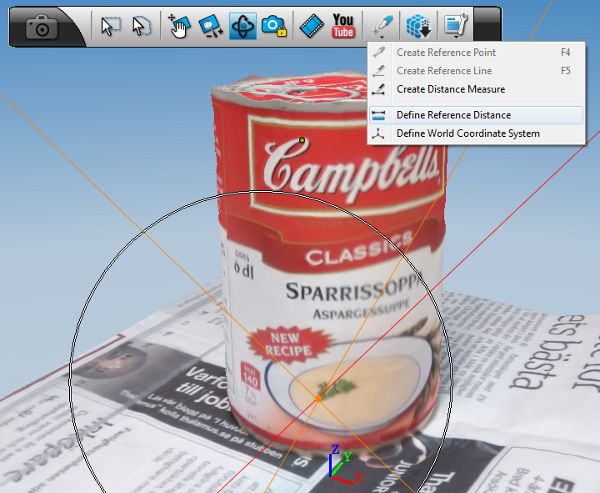
Given the high quality 3D mesh, we need to adjust the scale of the model to match the dimensions of the real world object. You have to define two points on the object and indicate the real distance between these two points as follows. First, lock the view to a certain image by selecting it in the image bar at the bottom of the screen. Choose the "Creation Tools" in the upper menu and select "Creating a reference point". This allows you to choose a reference point on the object. It should appear even in other images visible in the image bar. Select at least two of these images and indicate exactly where the same reference point is positioned in these images. Given at least three images with a known location of the reference point, triangulation is possible and the point can be located on the 3D object. Repeat the whole procedure for a second reference point.
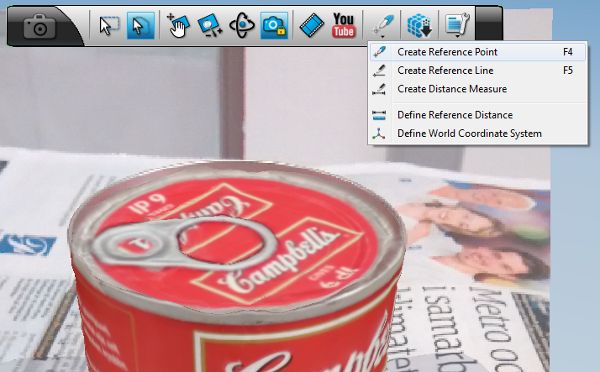
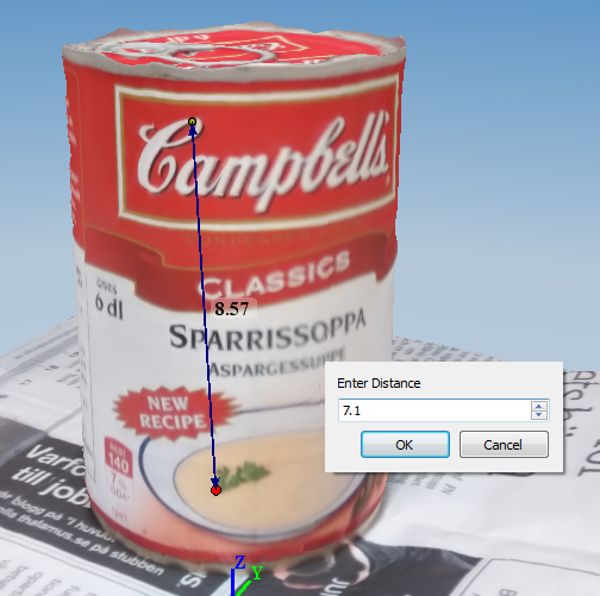
Next, measure the distance on the real object in cm. Choose "Define Reference Distance" under the "Creation Tools" button and select both of the reference points. Insert the distance between the points in cm.
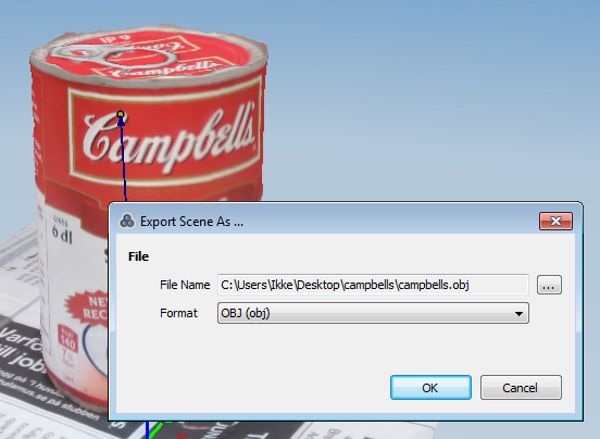
Export the model as .obj-file and you are done!