Postprocessing
3D model
Even though the Autodesk software comes with a function to delete vertices, this is not the best option. Often enough, this function results in faulty texture alignment and you might have to start over again. A better option is to operate on the .obj after exporting it from Autodesk. We here used the open source software Meshlab. With Meshlab it is fairly easy to remove unwanted vertices. If the number of vertices is too high for your application, you can use Meshlab to resample the 3D mesh with a lower number vertices.
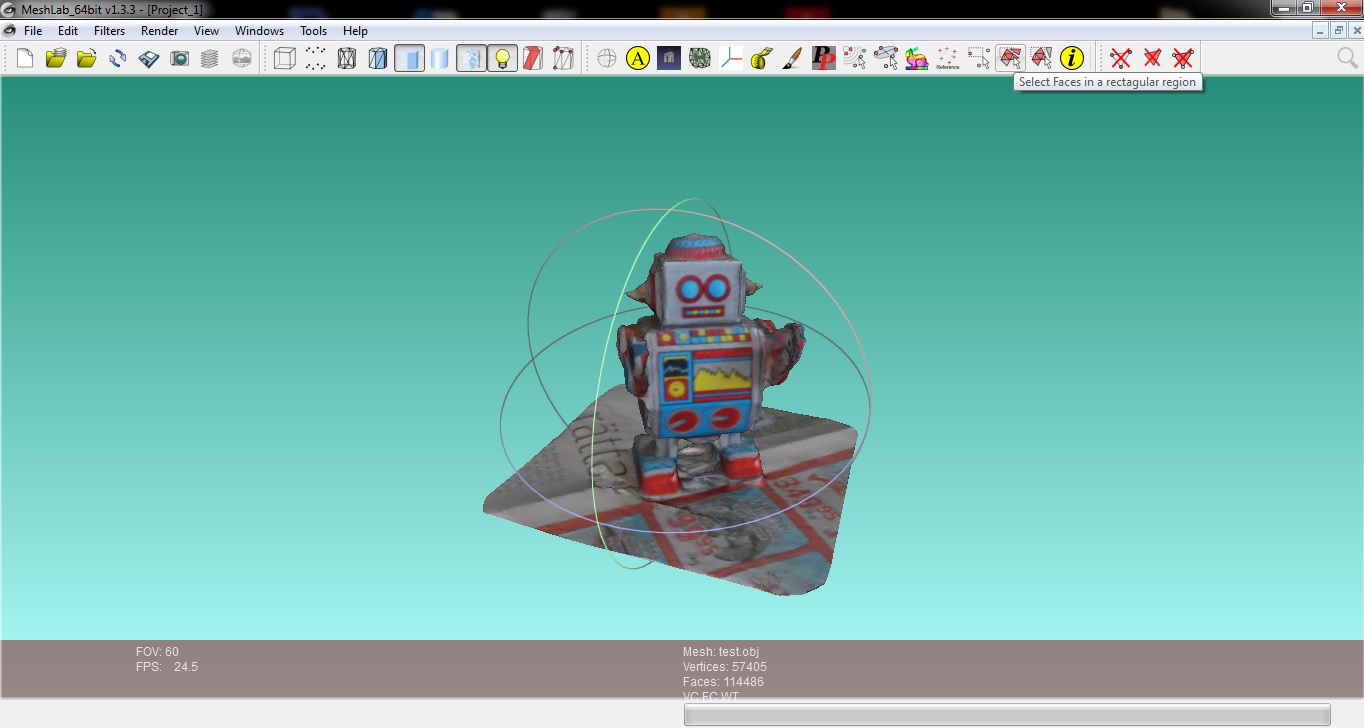
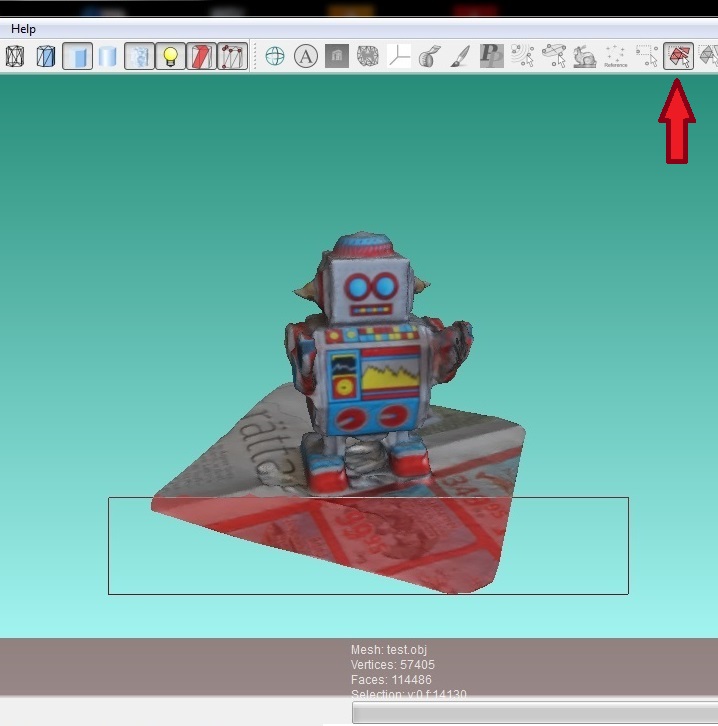
Background removal
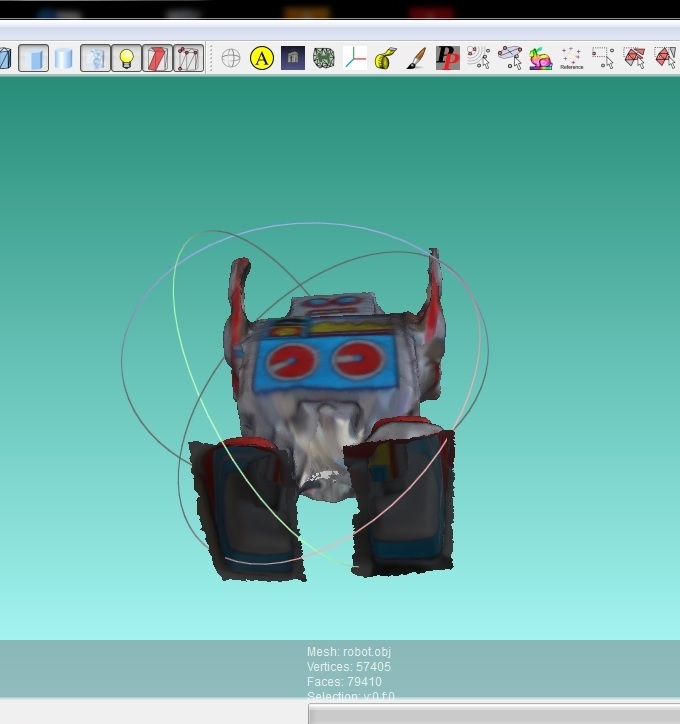
Import your .obj file into Meshlab. Since zooming in and out is controlled by scrolling it is a good idea to use a mouse. In order to remove e.g. the newspaper, press the "Select faces in rectangular region" button and select the faces you want to remove. Press the delete key.
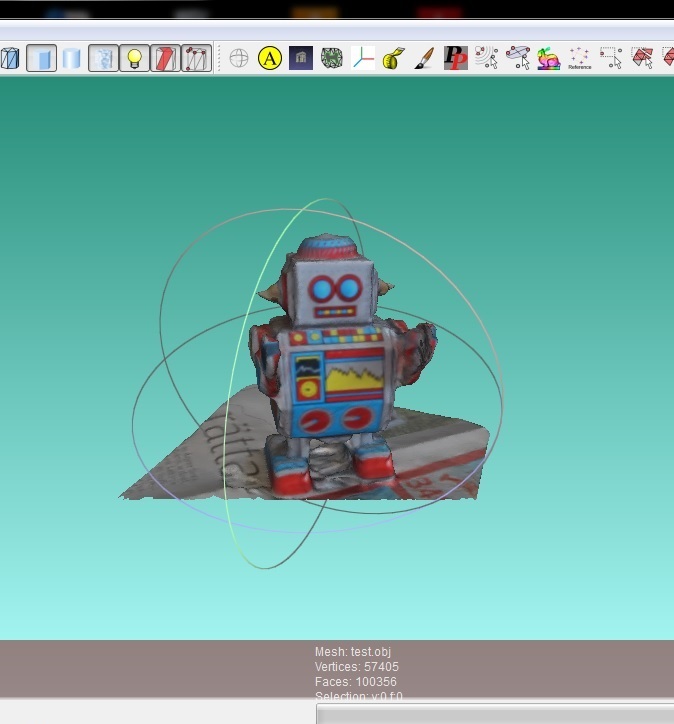
Background removal
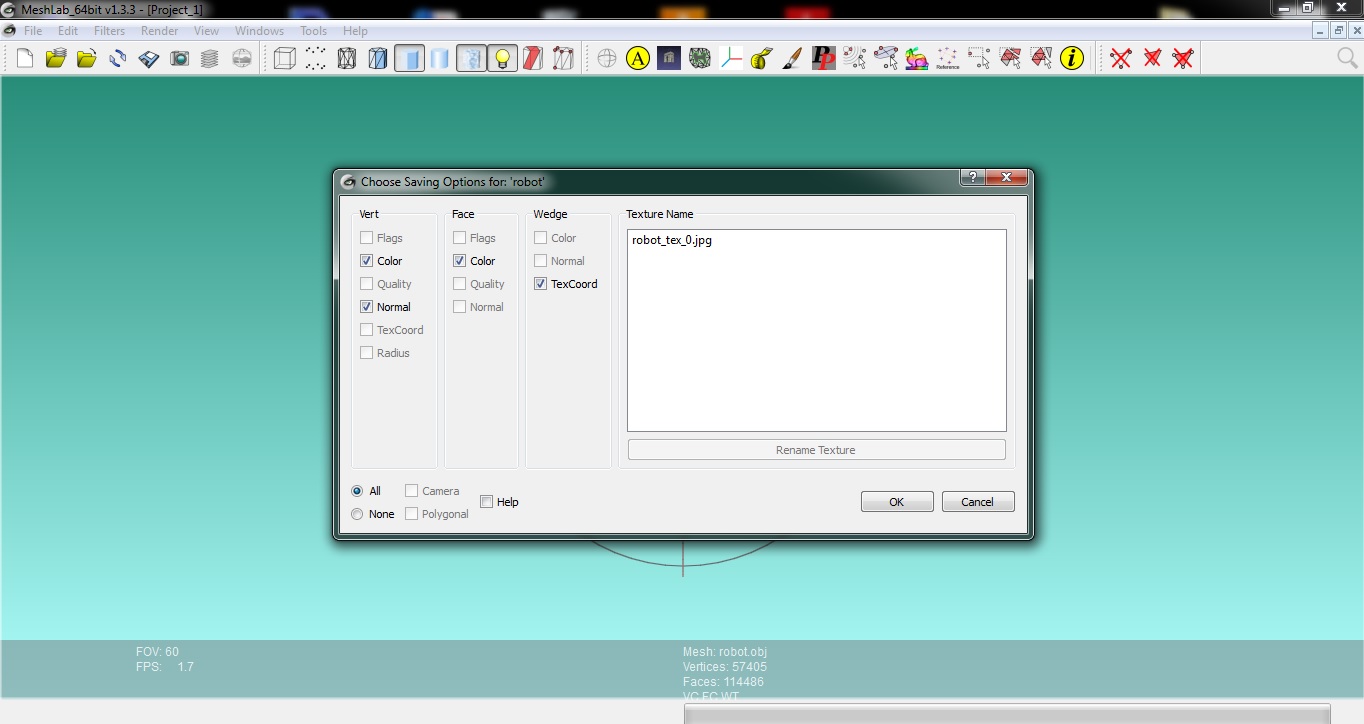
Rotate the object and repeat the removal until you are satisfied. Keep in mind not to remove too many vertices - otherwise the edges might become uneven at different locations which will interfere with the later stages of postprocessing. When you are done, export the mesh as a .obj file. Make sure to tick all options as shown in the image.
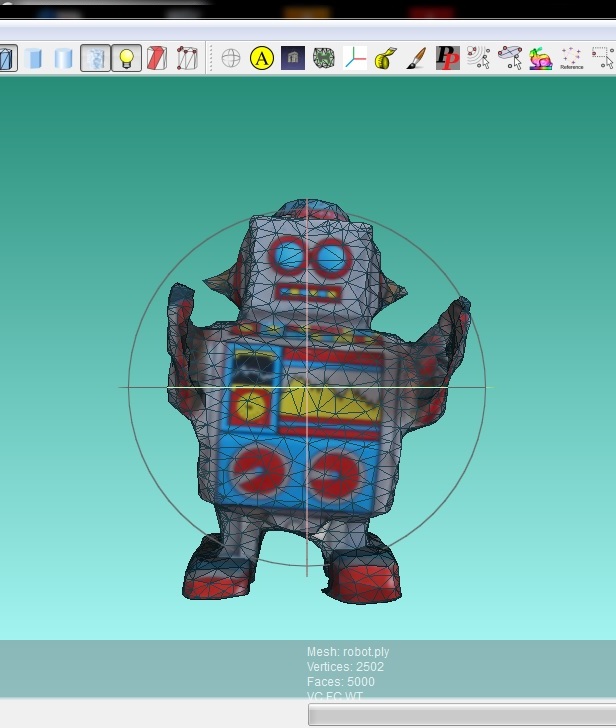
Simplifying geometry
If you want to resample the model in order to have a simpler mesh continue as follows. Select "Filters" and under
"Remeshing" choose "quadric edge collapse decimation (with texture)". Specify your target properties, e.g.:
target faces: 5000
quality: 1
texture weight: 100
Keep everything ticked except for "simplify only selected faces". In case you get an error message saying that the texture
does not cover the whole mesh, first export your model as a .ply file, resample this object and export in .obj format
again.